Roles, Permissions & Access Governance
The Role Management module ensures every employee has the exact permissions required for their daily job—protecting financial data, passenger records, and company settings from unauthorized access.
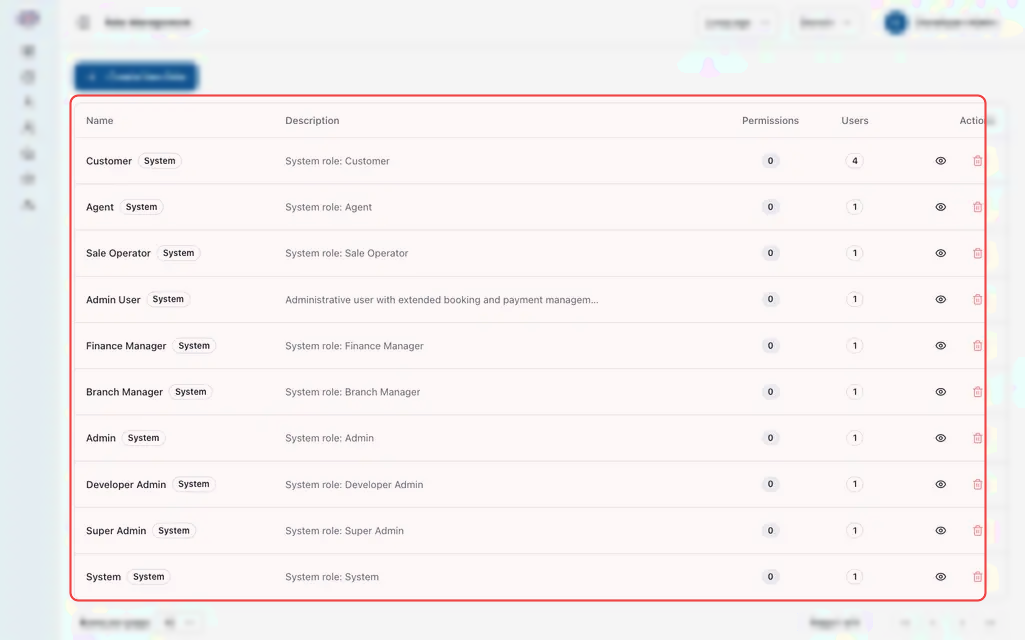
1. Pre-Configured Operational Roles
The platform includes standard roles tailored to standard bus company operations:
2. Inspecting Role Permissions
To review the exact capabilities granted to an existing role:
- Open Settings from the left navigation.
- Click Role Management.
- In the role list, locate the role (e.g., Branch Manager or Sale Operator).
- Click the View (eye) icon on its row.
- The permissions matrix opens, organized by operational section:
- Bookings & Ticketing: Capabilities to create, reschedule, cancel, or print tickets.
- Operations & Fleet: Rights to view or edit routes, buses, departure schedules, and seat layouts.
- Financials & Reports: Rights to generate master reports, commission summaries, and export CSVs.
- User Management: Rights to add, edit, or deactivate staff accounts.
3. Creating a Custom Role
When your organization needs a specialized operational role (for example, a Luggage & Cargo Attendant or Night Platform Dispatcher):
- Under Role Management, click Create New Role.
- Role Identification:
- Role Name: Descriptive title (e.g., Platform Dispatcher).
- Role Code: Short identifier in uppercase (e.g., DISPATCHER).
- Description: Note detailing the role's responsibilities.
- Select Capabilities:
- Check only the actions the role requires. For example, a platform dispatcher might only need:
View Scheduled TripsView Passenger ManifestsScan Boarding Passes
- Check only the actions the role requires. For example, a platform dispatcher might only need:
- Click Save Role. You can now assign this custom role to staff members under Admin Users.
4. Key Security & Governance Rules
- Default System Roles Protected: Standard roles (such as Admin, Branch Manager, and Sale Operator) are protected by system policy and cannot be deleted or renamed.
- Physical Branch Scoping: A user's assigned physical branch always takes precedence over broad permissions. Even if a role allows "View Bookings", assigning the user to Siem Reap Branch restricts their view to Siem Reap bookings.
- Instant Updates: Permission modifications apply immediately as soon as a staff member navigates to a new page or refreshes their browser.